General PC Maintenance Tutorial
Regular maintenance will help keep your PC in good health over a long period of time.
The following three utilities provide hard drive cleaning, virus & malware detection/removal and hard drive defragmentation (performance boost). If these utilities are not already installed on your PC you can download them here:
- CCleaner
- Microsoft Security Scanner (64bit version) or (32bit version)
- Defraggler
Run these utilities about once a month or when you feel that your PC no longer performs as well as it should.
Run them in the above order.

Fig 1. These icons are located in the upper right-hand corner of your Windows desktop.
They are arranged in a top-down order of execution.
CCleaner
CCleaner is a hard drive cleaning utility that provides the following services:
- File and folder cleaning.
- System registry cleaning.
- Program uninstall.
- Program start-up control.
This tutorial focuses on the first two services.
CCleaner - Custom Clean
The Custom Clean service is used to remove old and unused files and folders from your PC. Custom Clean will not remove any files that you create.
Launch CCleaner from the desktop icon (see fig 1 above). You should see the following window appear:

Fig 2. CCleaner is ready to perform hard drive cleaning.
To begin the hard drive cleaning process left mouse click (select) the “Run Cleaner” button located in the lower right-hand corner of the CCleaner window.
Custom Clean will scan your hard drive and remove old system files, log files, web browser cache files. Once finished, CCleaner will display a report of all files removed.
CCleaner - Registry Cleaning
The Windows Registry is a hierarchical database that stores configuration settings and options on Microsoft Windows operating systems.
Over a period of time the Windows registry can become cluttered with invalid entries. These invalid entries are typically left behind after uninstalling programs, system updates, etc.
Cleaning the Windows system registry will improve general performance.

Fig 3. CCleaner is ready to perform a Windows registry cleaning.
This service requires a few more mouse clicks than the Custom Clean operation described previously.
- Select the Registry icon located on the left side column (Figure 3).
- Select the “Scan for Issues” button to start the process.
- Once the scan has finished, select the “Fix selected issues…” button.
- Select the “No” button on the next prompt, “Do you want to backup changes to the registry?”
- Select the “Fix All Selected Issues” button.
- Select the “Close” button once the registry cleaning has finished.
This completes the cleaning operation; you can now close the CCleaner window.
Microsoft Safety Scanner
Note: As of 18/04/2022 Malwarebytes version 2.2.1.1043 is no longer able to download AV database updates. The lastest version of Malwarebytes will work but since it insists on running in the background, it really defeats the purpose of running a standalone scanner.
So far the only alternative I have found is the Microsoft Safety Scanner. This is a portable single file program that runs but does not install on a PC. I may move to another program in the future, suggestions welcome.
The Microsoft Safety Scanner is a supplement to your regular antivirus program (i.e. Windows Security, AVG, Avira, Avast) and should not be used as your primary antivirus program. It requires a user to open the program and start the scanning procedure. The scanner will automatically remove any viruses or malware found on the PC.
The program can be downloaded from the link at the beginning of this article. The downloaded file can be placed in "C:\Users\Public\Downloads\Microsoft Safety Scanner". Create a desktop shortcut icon to replace the Malwarebytes icon.
Launch Microsoft Safety Scanner desktop icon (see fig 1 above). Select "Yes" to the "User Account Control" notice.
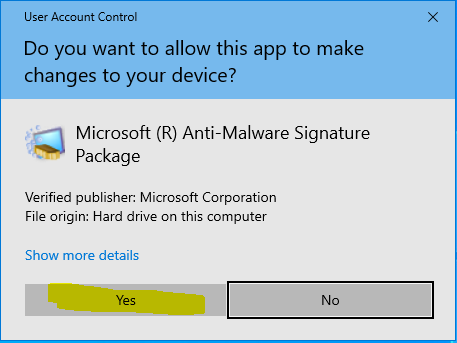
Fig 4. Selecting Yes gives Microsoft Safety Scanner administrative privilege.
Select check box "Accept all terms of the preceding license agreement" and select Next.
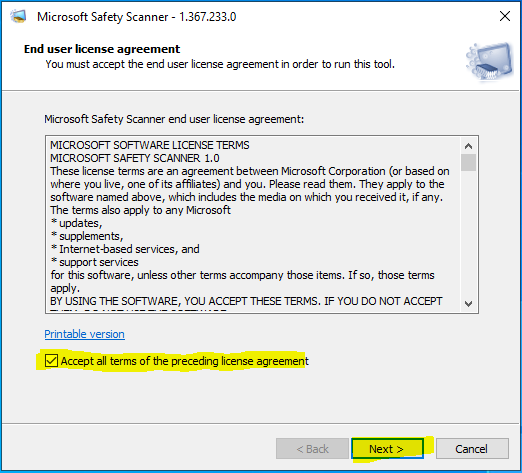
Fig 5. Microsoft Safety Scanner end user license agreement.
Has anyone ever read one of these?
Select Next on the Welcome window.
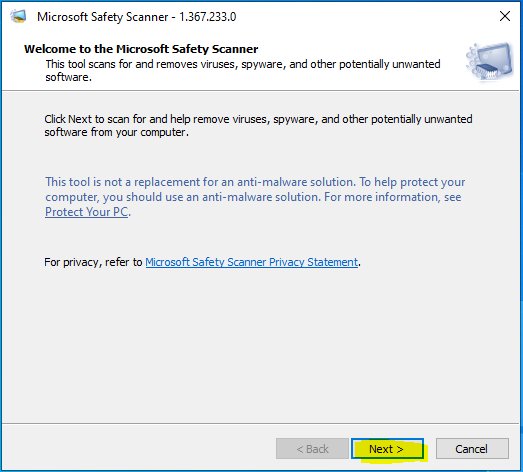
Fig 6. Microsoft Safety Scanner welcome screen.
Select "Quick scan" and select Next.
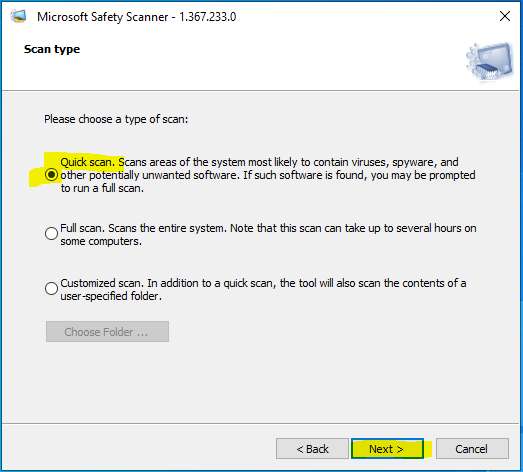
Fig 7. Microsoft Safety Scanner scan types.
Quick scan is now running. The scan should complete in 10 to 20 minutes depending on the PC configuration.
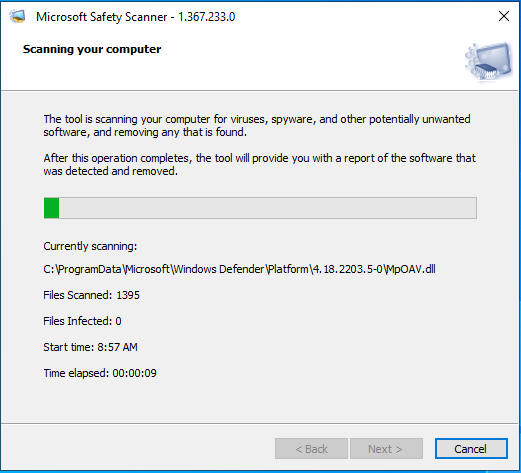
Fig 8. Microsoft Safety Scanner scanning your computer.
The scan is compete hopefully without finding any infections.
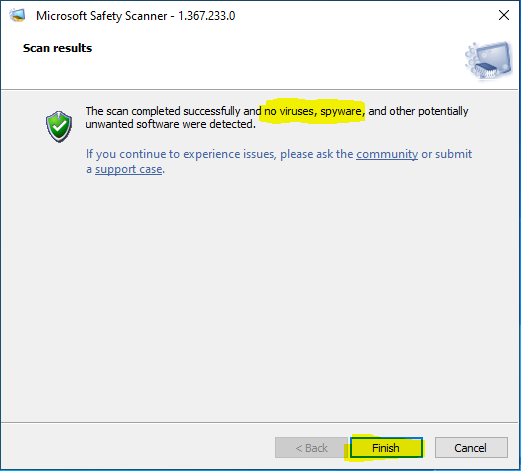
Fig 7. Microsoft Safety Scanner scan results.
When the scanner detects infections it will automatically remove them. You can view what was removed by selecting the "View detailed results of the scan" link.
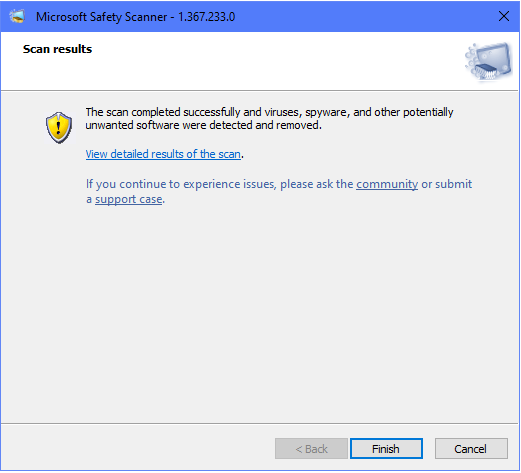
Fig 8. Microsoft Safety Scanner automatic infection removal.
Here is a sample of a removed infection.
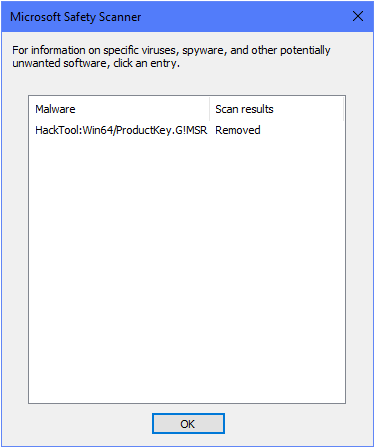
Fig 9. Microsoft Safety Scanner details of removed infection.
If an infection was detected and removed, re-run the program and select "Full scan". This scan will take a long time but will help to ensure no further infections are on the PC. Also it will be worth to run a full scan with your main antivirus program.
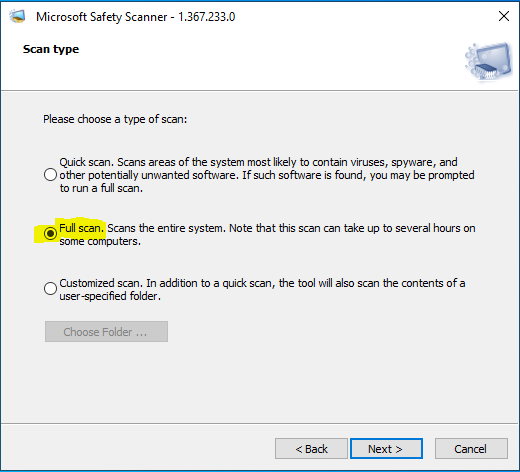
Fig 10. Microsoft Safety Scanner Full scan.
Defraggler
Mechanical hard drives (hdd) are becoming a thing of the past like DVD burners and floppy drives. Most PCs these days have a solid state hard drive (ssd) installed. SSD drives do not contain moving parts such as a read/write head or a spinning platter.
SSDs do not need defragging. If your PC has a ssd and no hdd(s) you can skip this section.
Defragging your Mechanical hard drive
Defraggler is a utility that reorganizes data on your mechanical hard drive. Hard drive data is laid down by Defraggler in a contiguous fashion which provides better overall system performance. Once the hard drive has been defragged, the hard drive's read/write heads do not have to move as much to fetch or store data.
This procedure is the easiest of the three to perform.
Launch Defraggler from the desktop icon (see fig 1 above) and select "Yes" to the "User Account Control" notice. You should see the following window appear (it may look slightly different from figure 11 depending on your computer’s configuration):

Fig 11. Defraggler is ready to rearrange the data on your hard drive.
Select the “Defrag” button to start the defragmentation process. Time required to complete this process varies depending on the condition and size of your hard drive (10 minutes to 3 hours). However, regular defragging will substantially reduce this time. Once the process has finished quite out of Defraggler.
NOTES:
- It is not recommended to work on your PC while Defraggler is running.
- If the hard drive is heavily fragmented (lots of red in the hard drive map, fragmentation percentage over 5%) it may require more than one run. Once Defraggler has finished, click on the “Defrag” button again. Repeat two or three more times.
Your PC maintenance run is compete.